How To Wrap A Car: A Step-By-Step Guide To Vinyl Wrapping
How do you wrap a car? Wrapping a car involves preparing the paint, positioning vinyl over each body panel, applying the film with controlled tension and heat, and finishing the edges for a clean installation. This guide explains the basic process, what makes full-car wrapping difficult, and how DIY installation compares with professional wrapping.
Key Takeaways
- Car wrapping starts with thorough cleaning and surface preparation so the vinyl can adhere properly.
- A vehicle is generally wrapped panel by panel rather than with one continuous sheet of vinyl.
- Curves, bumpers, mirrors, recessed areas, and edges require careful control of heat and vinyl tension during installation.
- DIY wrapping may work for smaller or simpler panels, but full-car wraps require more skill, tools, material, and installation control.
- Professional installation can reduce common risks such as wrinkles, excessive stretching, lifting edges, inconsistent finishes, and accidental paint damage during trimming.
What Do You Need To Wrap A Car?
Car wrapping requires more than vinyl and a squeegee. Proper tools help installers position the material, manage air, form the film around body contours, and finish edges without damaging the vehicle.
Common car wrapping tools and materials include:
- Automotive vinyl wrap
- Felt-edge squeegee
- Heat gun
- Wrap knife or precision cutting tool
- Measuring tape
- Microfiber towels
- Surface-safe cleaning solution
- Isopropyl alcohol solution
- Magnets or positioning tape
- Wrap gloves
- Knifeless tape
The amount of vinyl required depends on the vehicle's dimensions, body style, and the complexity of its panels. Additional material may be necessary for bumpers, mirrors, spoilers, and other irregular surfaces.
How To Wrap A Car In 4 Steps
Step 1: Inspect And Prepare The Vehicle
Inspect the paint for scratches, dents, rust, peeling clear coat, or poorly bonded previous repairs. Vinyl follows the surface underneath it rather than correcting those defects.
The vehicle should then be thoroughly washed, decontaminated, dried, and cleaned of wax, grease, road film, and other residue. Particular attention should be given to seams, edges, trim, handles, and other areas where the vinyl will finish.
Step 2: Measure And Position The Vinyl
Measure each body panel and cut enough material to provide coverage plus additional vinyl for positioning and edge finishing.
The film is positioned over one panel at a time and adjusted before full adhesion. Proper placement at this stage reduces unnecessary stretching later, particularly around curves and complex body lines.
Step 3: Apply And Form The Wrap
Use a squeegee to progressively secure the vinyl while moving trapped air toward an open edge. Controlled heat and tension help the film conform around curves, corners, bumpers, mirrors, and recessed areas.
This is where installation skill becomes particularly important. Excessive heat or stretching may make the vinyl appear smooth initially but can leave tension in the material, increasing the risk of shrinking or lifting later.
Step 4: Finish The Edges And Inspect
Once the film is properly positioned, excess material is trimmed and the vinyl is finished around appropriate edges, seams, and body contours.
The completed wrap should be inspected for bubbles, wrinkles, contamination, lifting edges, and overstretched areas. A professional installation also checks difficult sections before delivery rather than treating a smooth-looking surface as the only measure of a successful wrap.
DIY Vs. Professional Car Wrapping
It is possible to wrap a car yourself, but there is a substantial difference between applying vinyl to a simple panel and completing a consistent full-vehicle color change.
| Factor | DIY Car Wrap | Professional Car Wrap |
|---|---|---|
| Initial cost | Lower if completed successfully | Higher upfront |
| Tools and workspace | Must be sourced separately | Professional setup available |
| Flat panels | More manageable | Routine installation |
| Bumpers and curves | Difficult for beginners | Handled with installation experience |
| Tension management | Learning curve | Controlled throughout installation |
| Trimming | Greater risk of mistakes | Professional finishing techniques |
| Material waste | Can increase with failed panels | Better material planning |
| Final consistency | Depends heavily on skill | More consistent across the vehicle |
DIY wrapping can work for smaller, simpler panels, but full-car wraps carry a higher risk of wrinkles, lifting edges, overstretching, wasted material, and installation-related problems that can affect wrap lifespan. Professional installation is better suited to complete color changes and complex bodywork where proper tension, finishing, and long-term durability matter.
What Are The Most Common Car Wrapping Mistakes?
Many premature wrap problems originate during preparation or installation rather than after the vehicle leaves the shop. Common mistakes include:
- Wrapping over contaminated paint
- Installing vinyl over unstable or peeling surfaces
- Cutting directly into factory paint
- Stretching the film excessively
- Using too much uncontrolled heat
- Trapping wrinkles or contamination beneath the vinyl
- Leaving insufficient material around edges
- Failing to secure complex recessed areas properly
- Rushing bumpers, mirrors, and other difficult panels
Trying to solve every installation problem by adding more heat or tension can create a clean-looking result initially while increasing the risk of later lifting or distortion.
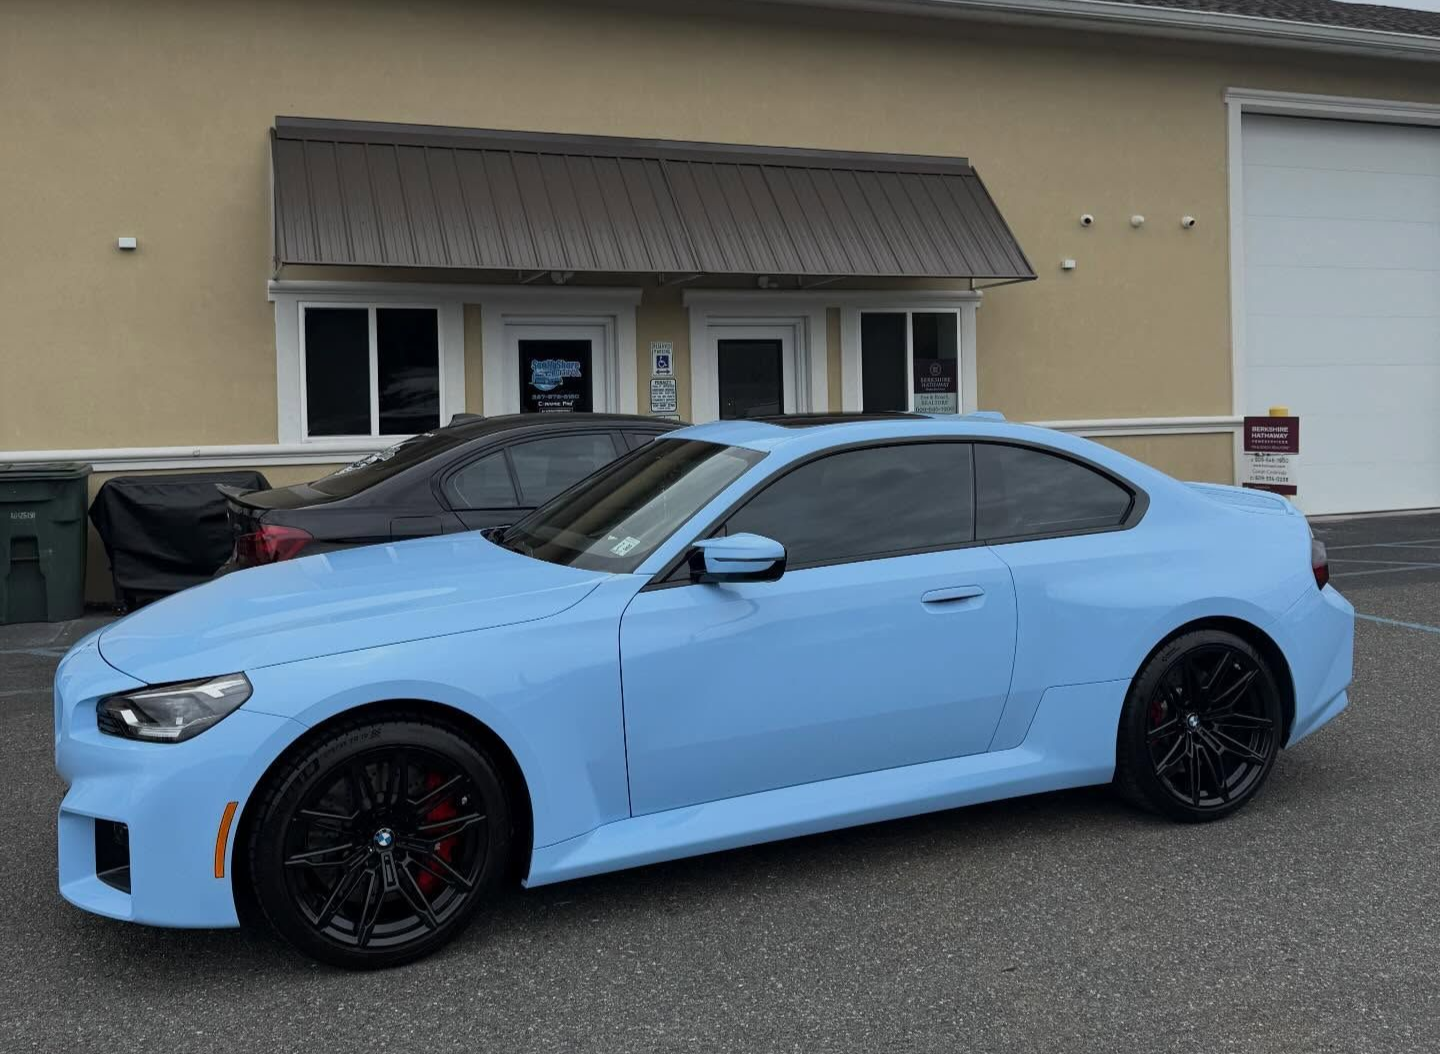
Expert Insight
A successful vehicle wrap is not just about getting the vinyl smooth on the day it is installed. The more important challenge is controlling tension across curves, edges, and recessed areas so the material remains stable after repeated heat cycles and everyday driving. Proper preparation and careful film placement usually produce a better long-term result than trying to correct every difficult area with additional heat and stretching.
— South Shore Detail Team
How Long Does It Take To Wrap A Car?
A full vehicle wrap typically takes multiple working days, depending on vehicle size, body complexity, paint condition, preparation requirements, and the amount of disassembly needed.
A straightforward vehicle with relatively simple panels generally takes less time than one with complex bumpers, deep recesses, spoilers, extensive trim, or existing vinyl that must first be removed.
DIY projects can take considerably longer because each panel may need to be repositioned or redone while the installer learns how the material behaves. Professional shops can work more efficiently because the preparation, application, trimming, and finishing process is already established.
What Should You Do After Wrapping A Car?
After installation, inspect the wrap regularly and use maintenance methods appropriate for automotive vinyl. For routine care:
- Hand wash the vehicle when possible.
- Remove bird droppings, insects, tree sap, and road contamination promptly.
- Avoid abrasive brushes.
- Do not direct high-pressure water closely at wrap edges.
- Use cleaning products appropriate for the vinyl finish.
- Park under cover when possible to reduce prolonged UV exposure.
Drivers in Egg Harbor Township and Atlantic County should also remove winter road salt and coastal contamination regularly rather than allowing buildup to remain on wrapped surfaces.
Proper maintenance does not eliminate normal vinyl aging, but it can help prevent avoidable deterioration.
Book A Vinyl Wrap In Egg Harbor Township, NJ
Wrapping a small panel can be a manageable DIY project. Completing an entire vehicle is different. Full wraps require consistent preparation, controlled stretching, precise trimming, and careful finishing across bumpers, mirrors, curves, recesses, and panel edges.
For drivers considering a full vehicle wrap,
South Shore Detail provides professional
vinyl wrapping in Egg Harbor Township, NJ. The team
evaluates the vehicle and existing paint before determining the appropriate approach for the installation.
FAQs
About the Author
South Shore Detail has served drivers throughout Atlantic County for more than 10 years, providing professional vehicle customization services, including vinyl wrapping, along with auto detailing, paint correction, ceramic coating, and Paint Protection Film (PPF). The team provides professional vinyl wrapping from its Egg Harbor Township, NJ, shop for vehicle owners looking to change or personalize their vehicle's appearance.
Last updated: August 2026.